Manage Personas
Personas allow you to define different sets of permissions for different groups of users. Each user with the Custom Team Manager permission set can be assigned to a single persona which holds the con…

Personas allow you to define different sets of permissions for different groups of users. Each user with the Custom Team Manager permission set can be assigned to a single persona which holds the configuration for their permissions. To learn about configuring permissions, see this article and to learn about how to assign users to a persona, see this article.
Default Persona
Every org will come with a Default Persona. This will apply to any users who have not been assigned another persona, as well as anyone specifically assigned back to the Default persona. If you don't have a need for multiple personas, you can do all of your configuration with the Default Persona.
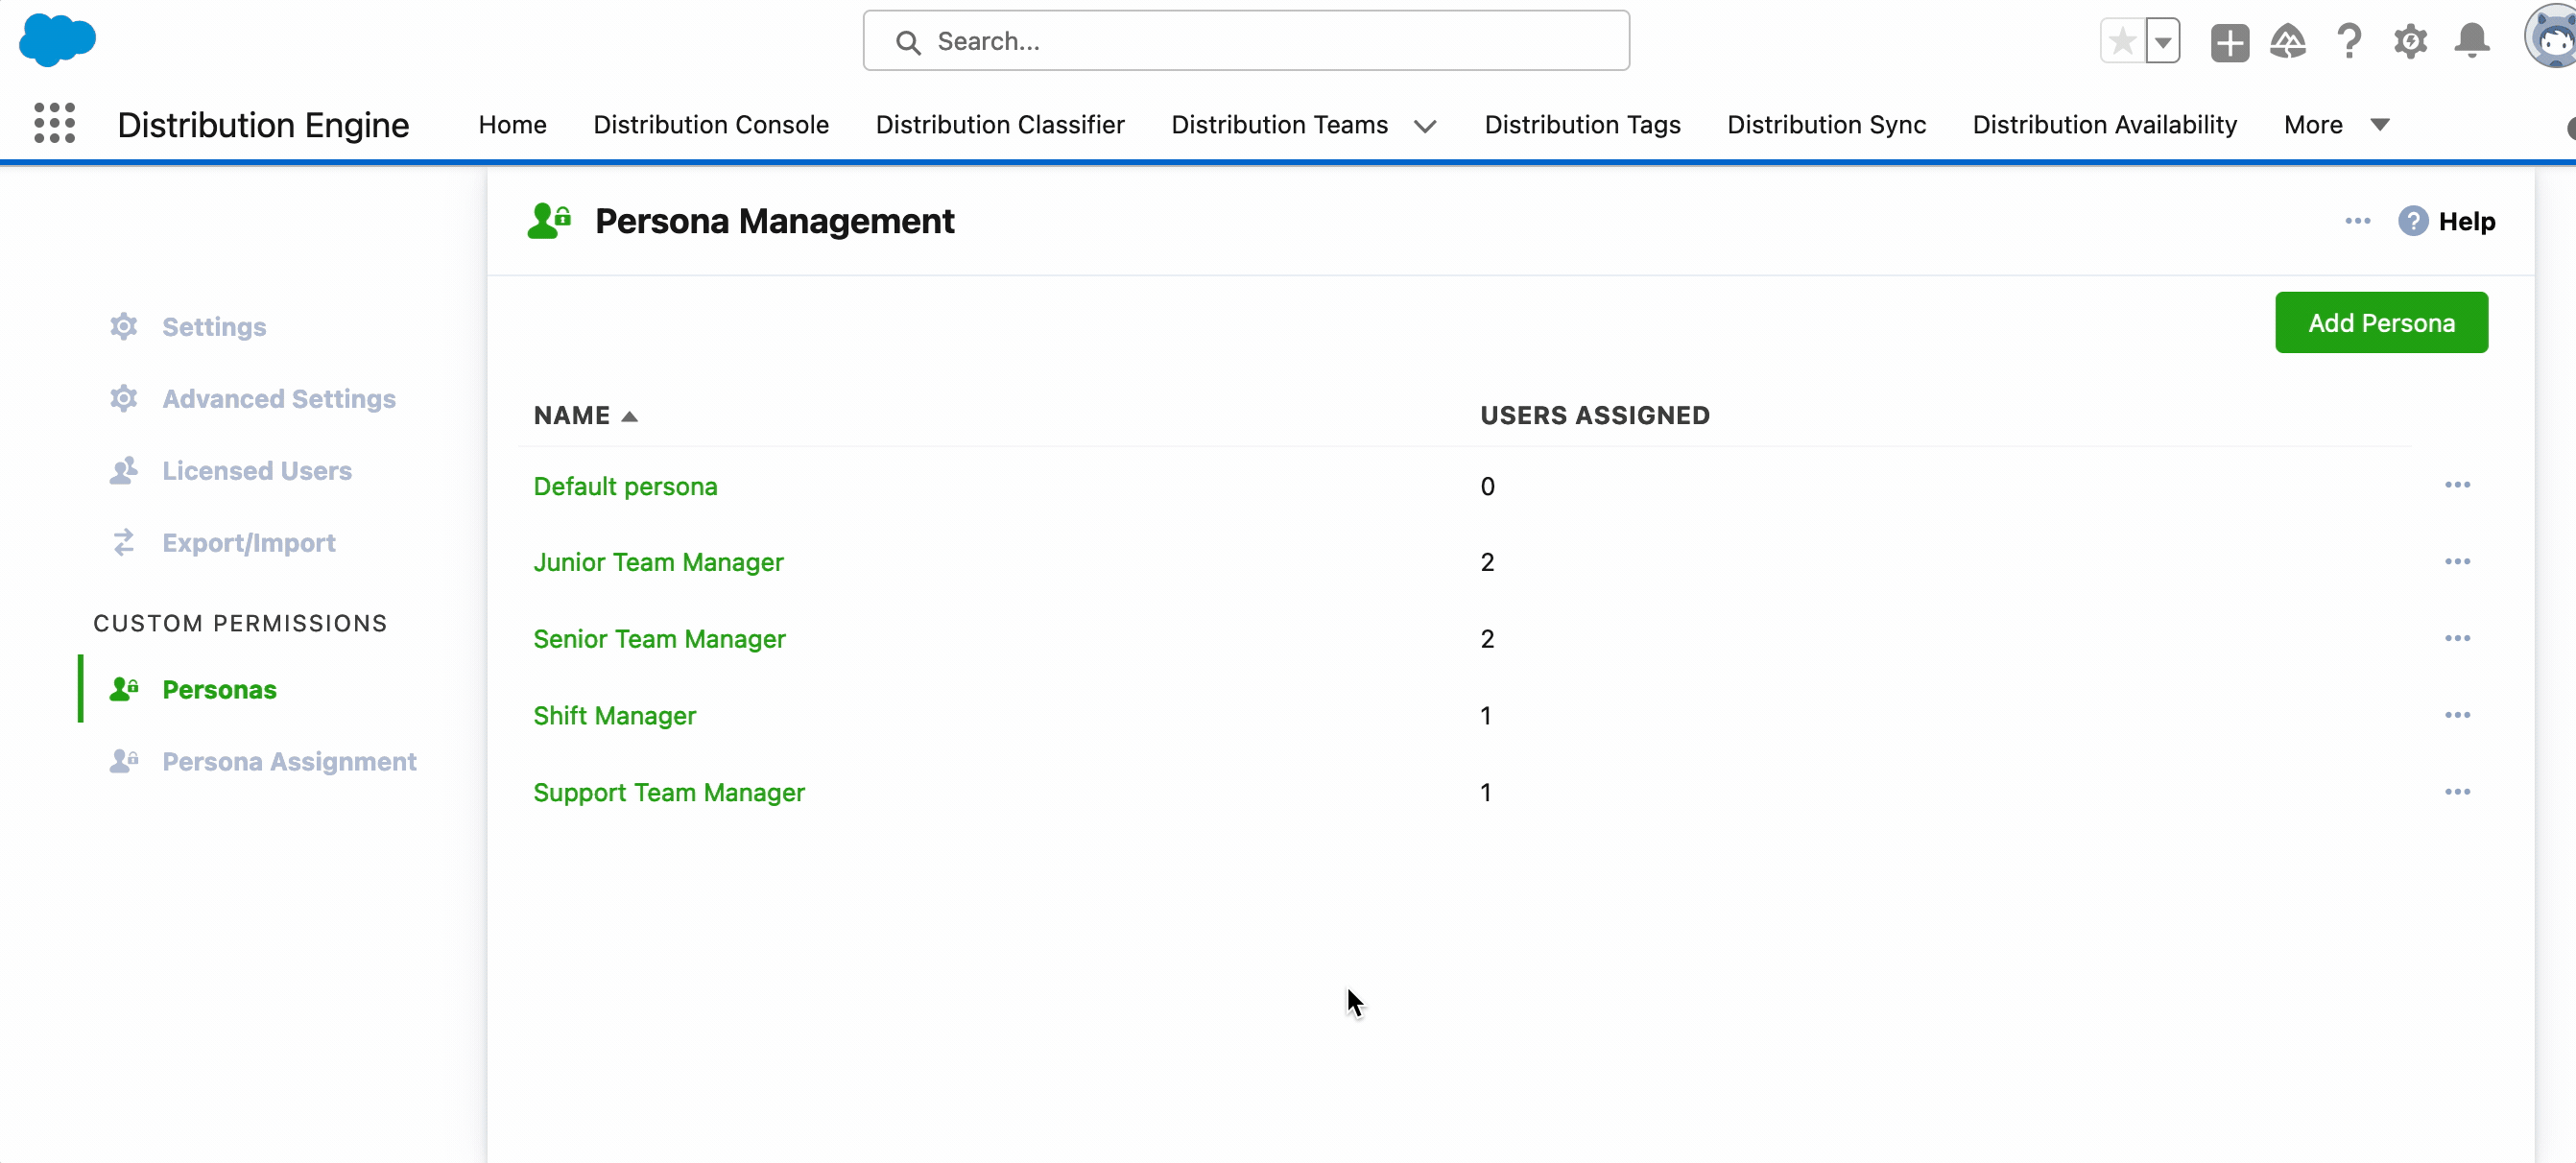
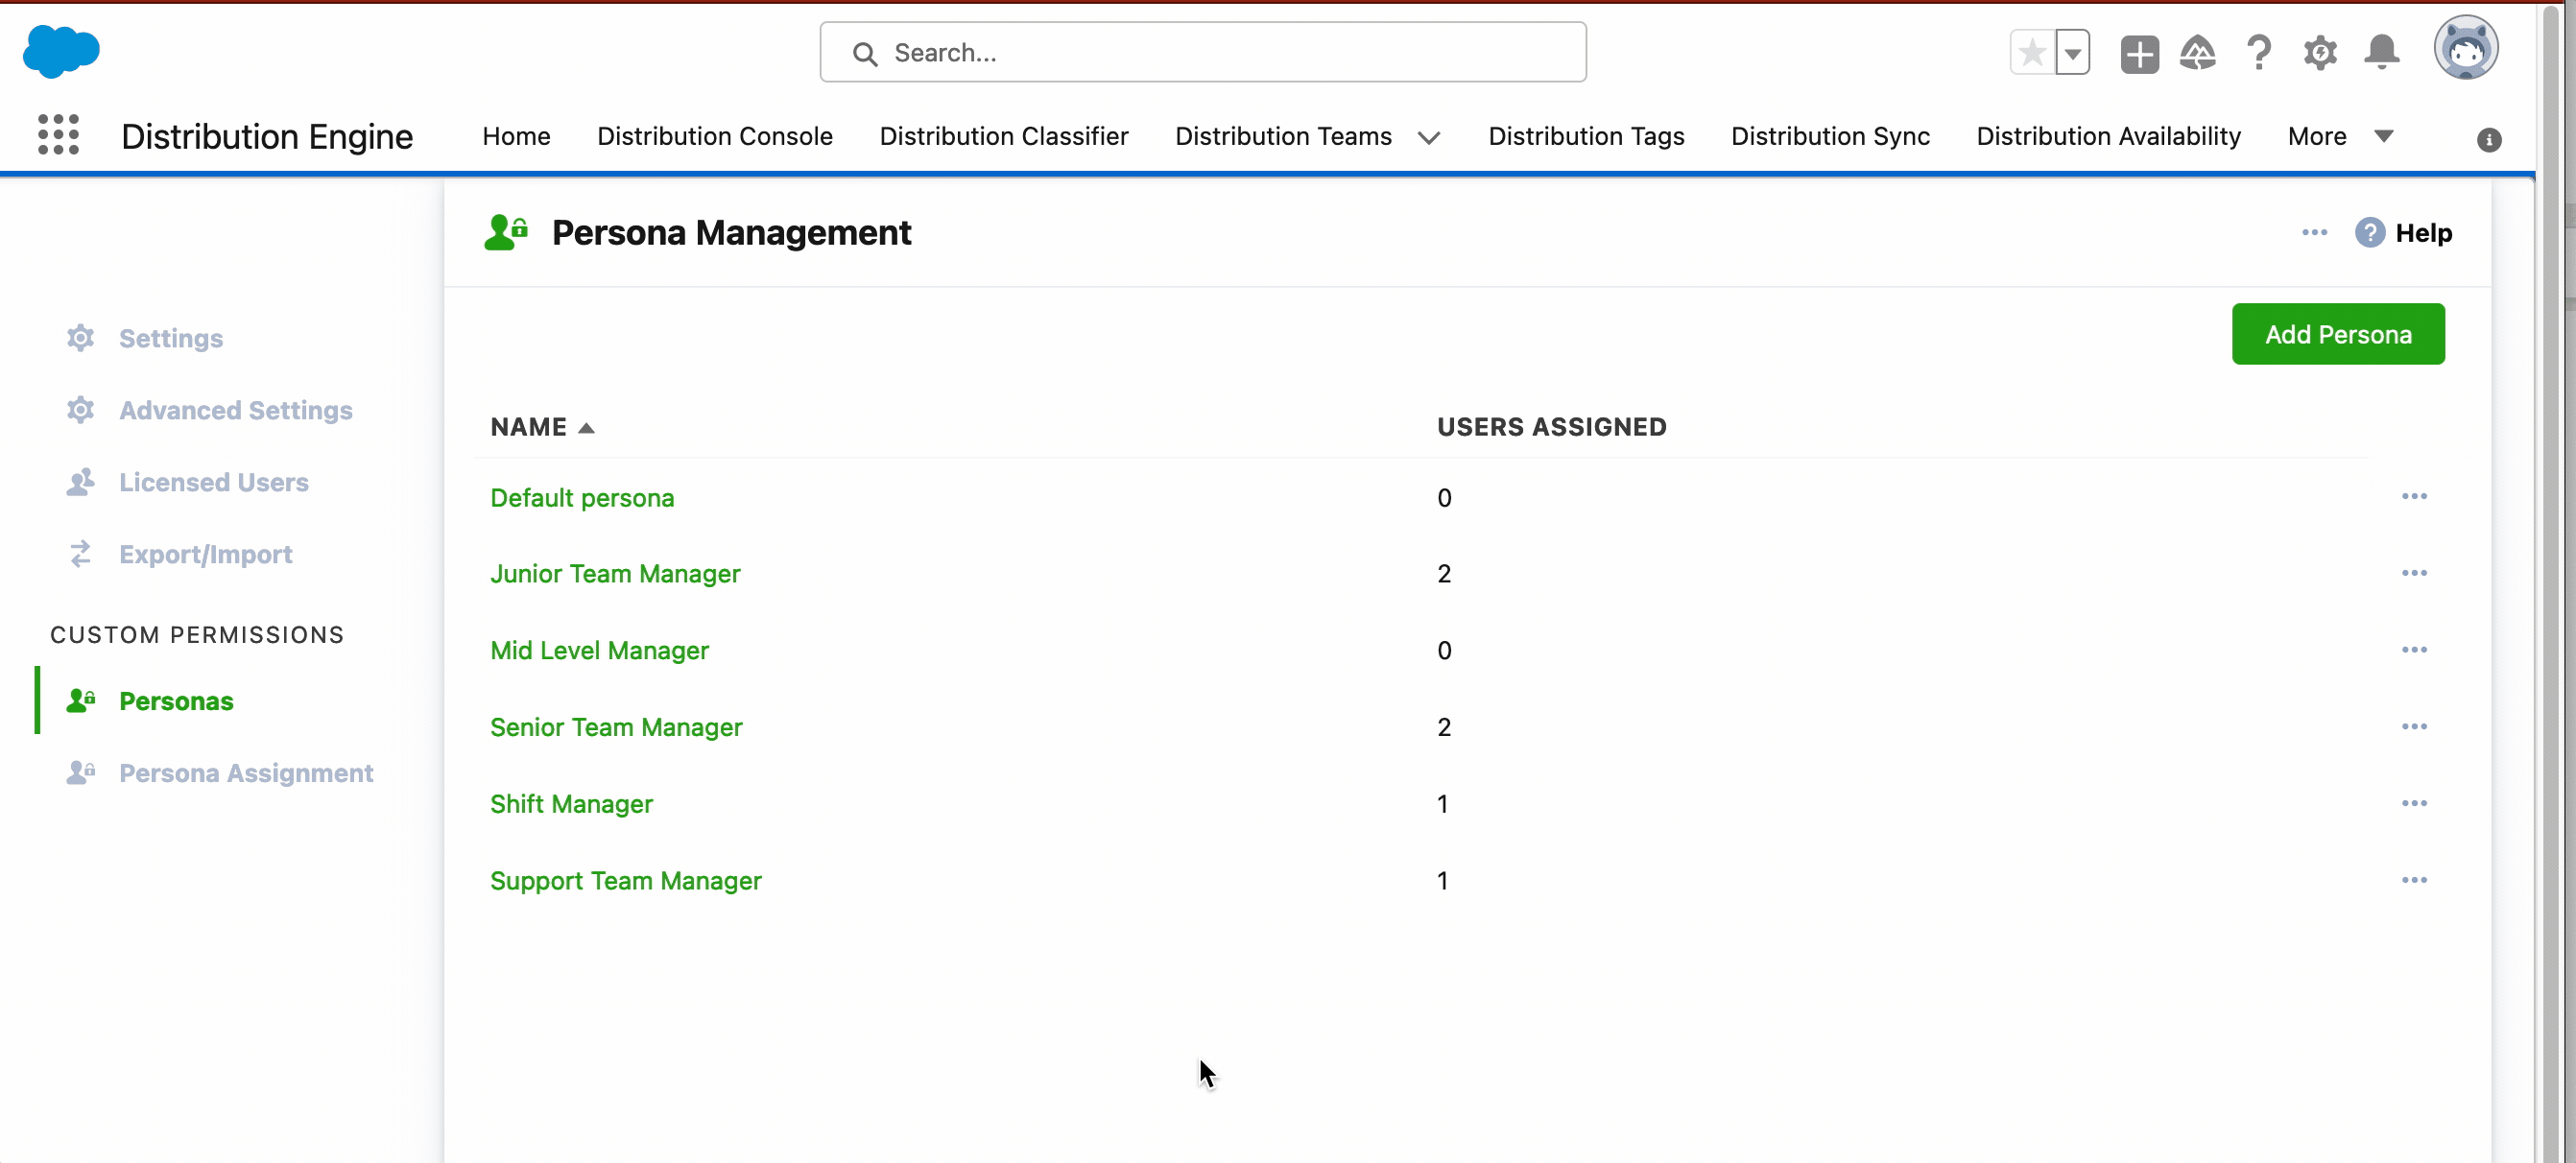
Personas
Add New
To add a persona, navigate to the Personas page on the Distribution Settings tab. Click the Add Persona button, and name the persona. The configuration for that persona is then opened.
Rename
Personas can be renamed by clicking the row menu for the persona and selecting 'Rename'. This will allow you to select a new unique name for your persona.
Clone
You can copy the configuration from an existing persona by clicking the row menu for the persona and clicking 'Clone.' This will allow you to choose the name for your new persona, you will then be taken to the configuration page for your new persona to make any needed changes.
Delete
To delete a persona, click the row menu for the persona and choose 'Delete'. Because each user with the Distribution Engine Custom Team Manager permission set must have an assigned persona, you must choose a persona to reassign all team members to.
How did we do?
Custom Permissions
Persona Assignment