Classify on Address Change
Classification will normally occur when a record is created, but there are scenarios when you may want classification to (re-)occur, later on in the record lifecycle. For example, you may want to tri…

Classification will normally occur when a record is created, but there are scenarios when you may want classification to (re-)occur, later on in the record lifecycle. For example, you may want to trigger auto-conversion after a Lead has been worked, or update territory information when an address changes. You can use the Classifier API to trigger classification either through code or from a Salesforce Flow.
The example below xcreates a flow that updates the territory information on a Lead when the address changes.
Step 1 - Create the flow
- Go to Setup > Process Automation > Flows
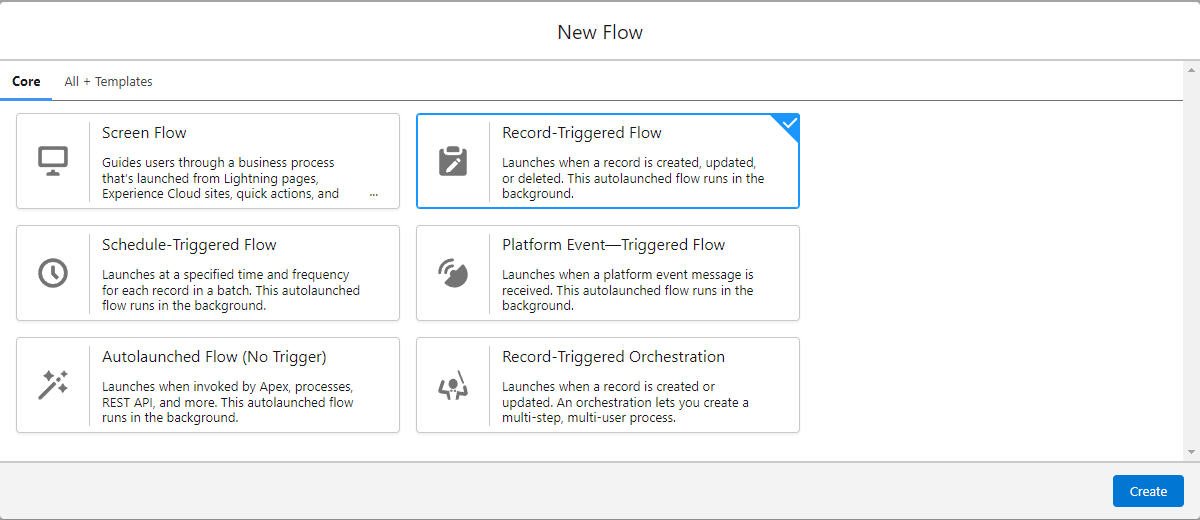
- Click New Flow
- Select "Record-Triggered Flow"
- Click Create
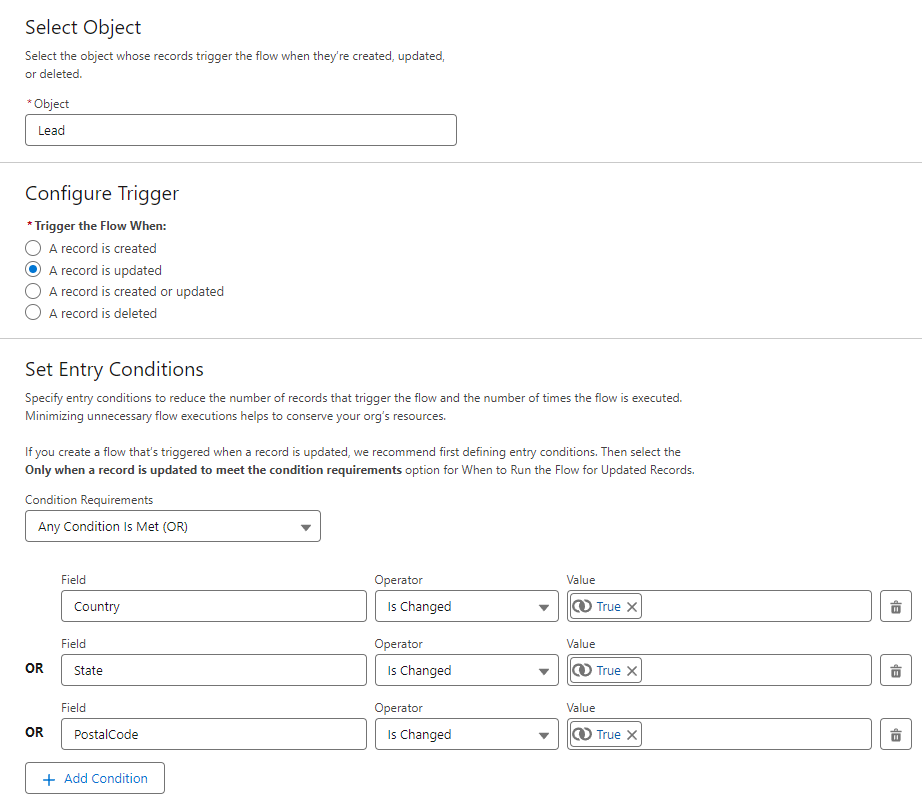
- In the side panel configure the trigger conditions
- Object: Lead
- Trigger the Flow When: A record is updated
- Condition Requirements: Any Condition is Met (OR)
- Conditions:
- State - Is Changed - {!$GlobalConstant.True}
- Zip/Postal Code - Is Changed - {!$GlobalConstant.True}
- Country - Is Changed - {!$GlobalConstant.True}
Step 2 - Create and populate the classification types variable
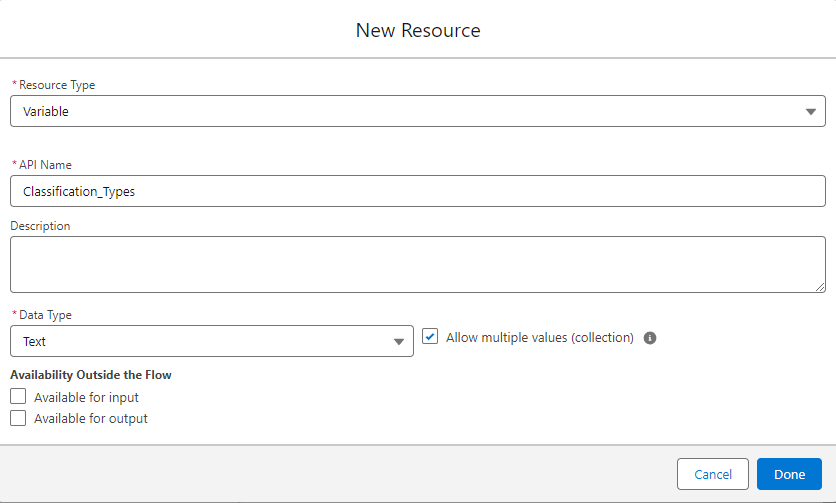
The classification types are passed as a list to the classify action. This needs to be created as a resource and assigned the appropriate values.
- In the Toolbox on the left, click New Resource
- Resource Type: Variable
- API Name: Classification_Types
- Data Type: Text
- Allow multiple values (collection): Check
- Click Done
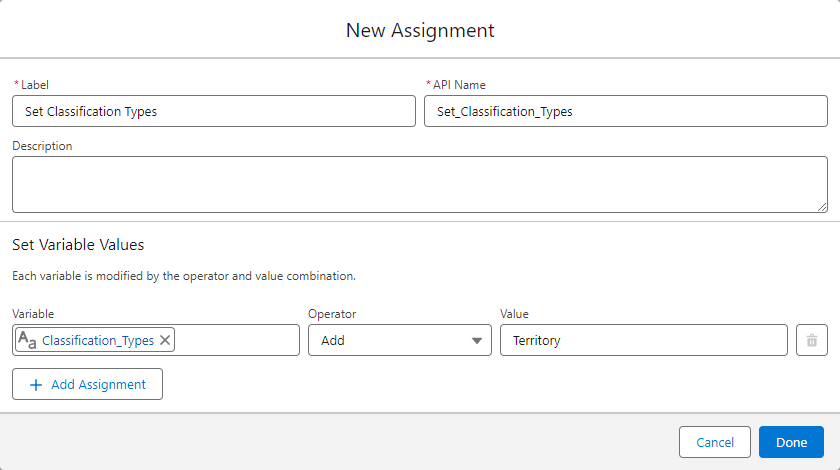
- Click the Add Element button and select "Assignment"
- Label: Set Classification Types
- Variable: {!Classification_Types}
- Operator: Add
- Value: Territory
- Click Done
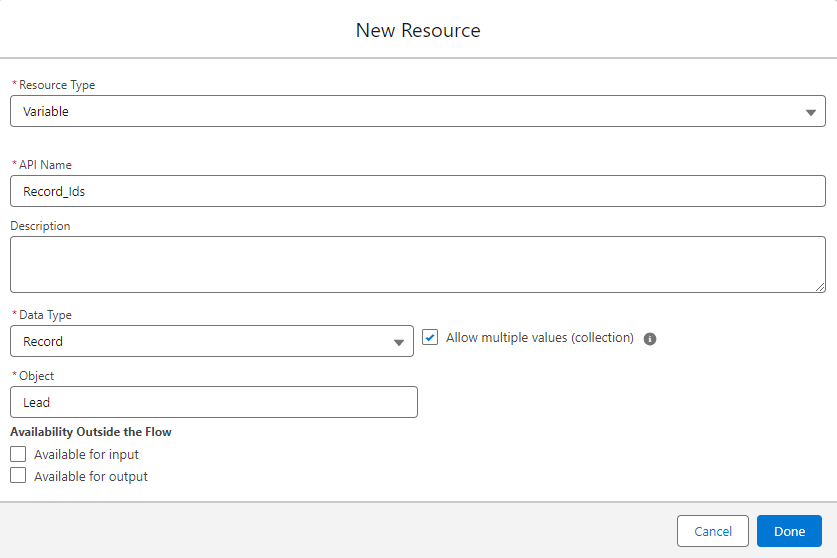
Step 3 - Create and populate the record ids variable
The record ids are passed as a list to the classify action. This needs to be created as a resource and the trigger record added.
- In the Toolbox on the left, click New Resource
- Resource Type: Variable
- API Name: Record_Ids
- Data Type: Record
- Object: Lead
- Allow multiple values (collection): Check
- Click Done
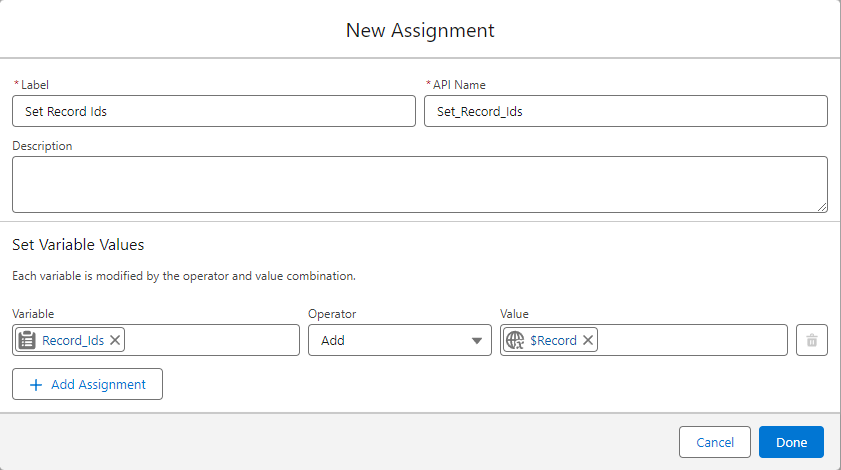
- Click the Add Element button and select "Assignment"
- Label: Set Record Ids
- Variable: {!Record_Ids}
- Operator: Add
- Value: {!$Record}
- Click Done
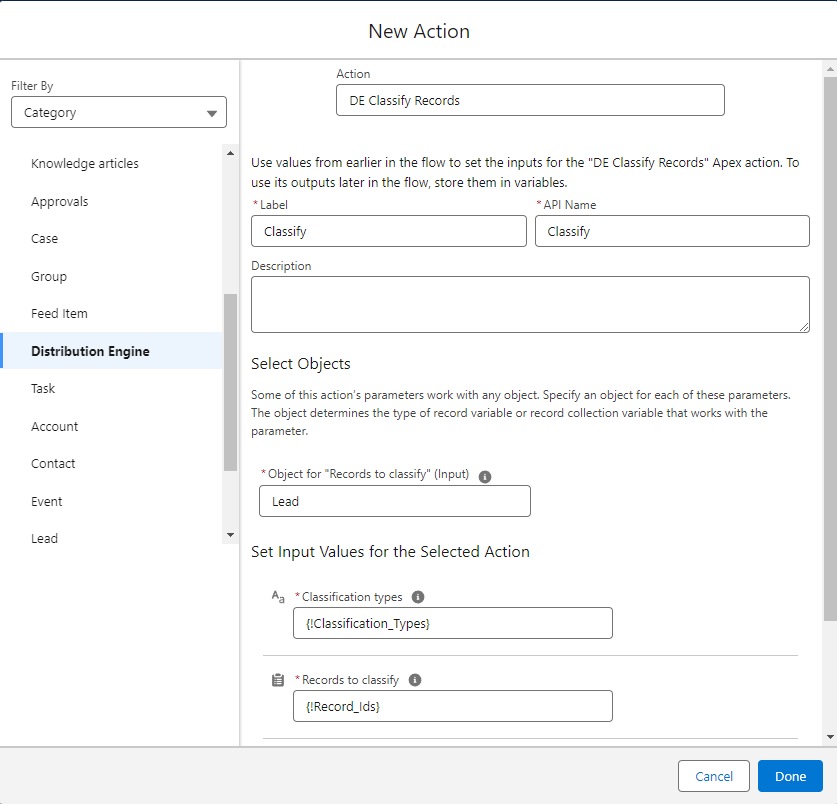
Step 4 - Classify the record
This step uses the DE Classifier API, see this article for more information.
- Click the Add Element button and select "Action"
- In the category "Distribution Engine" search for the action "DE Classify Records"
- Label: Classify
- Object for "Records to classify": Lead
- Classification types: {!Classification_Types}
- Records to classify: {!Record_Ids}
- Click Done
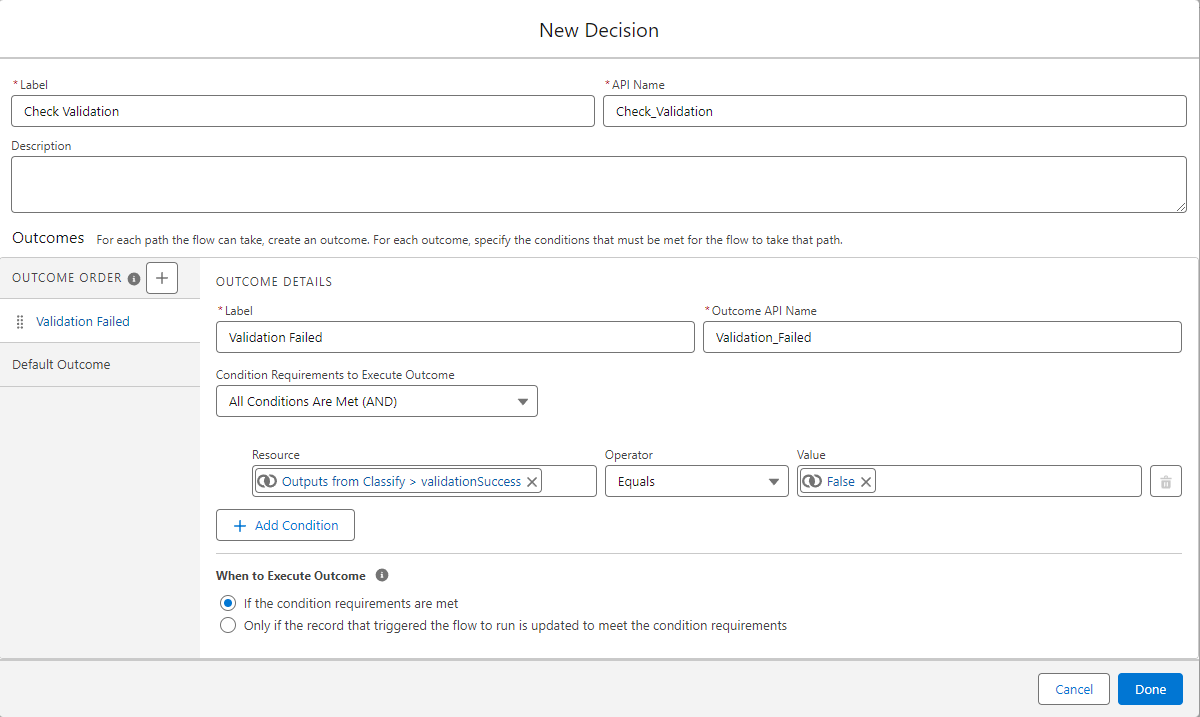
Step 5 - Check for validation failures
If not configured correctly, the classify action could fail validation and therefore classification will not take place. It's best practice to check the output of the classify action to look for validation failures.
- Click the Add Element button and select "Decision"
- Label: Check Validation
- Outcome details Label: Validation Failed
- Condition Resource: {!Classify.validationSuccess}
- Condition Operator: Equals
- Condition Value: {!$GlobalConstant.False}
- Click Done
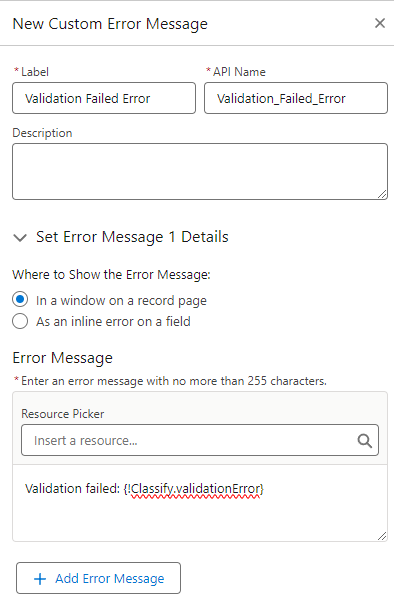
- In the "Validation Failed" branch, click Add Element button and select "Custom Error"
- Label: Validation Failed Error
- Error Message: Validation failed: {!Classify.validationError}
- Close the side panel
Step 5 - Check for classification failures
The classify action could fail to process the record for a number of reasons. It's best practice to check the output of the classify action to look for those failures and display the message to the user. Due to the way flows work, the action can accept multiple records and therefore the response will be a list that will need to be iterated over.
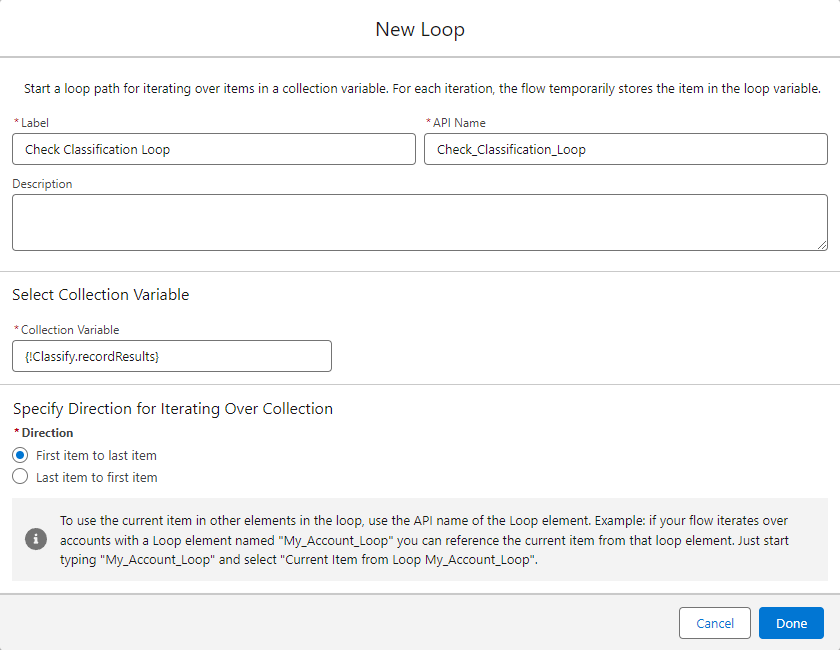
- In the "Default Outcome" branch, click the Add Element button and select "Loop"
- Label: Check Classification Loop
- Collection Variable: {!Classify.recordResults}
- Click Done
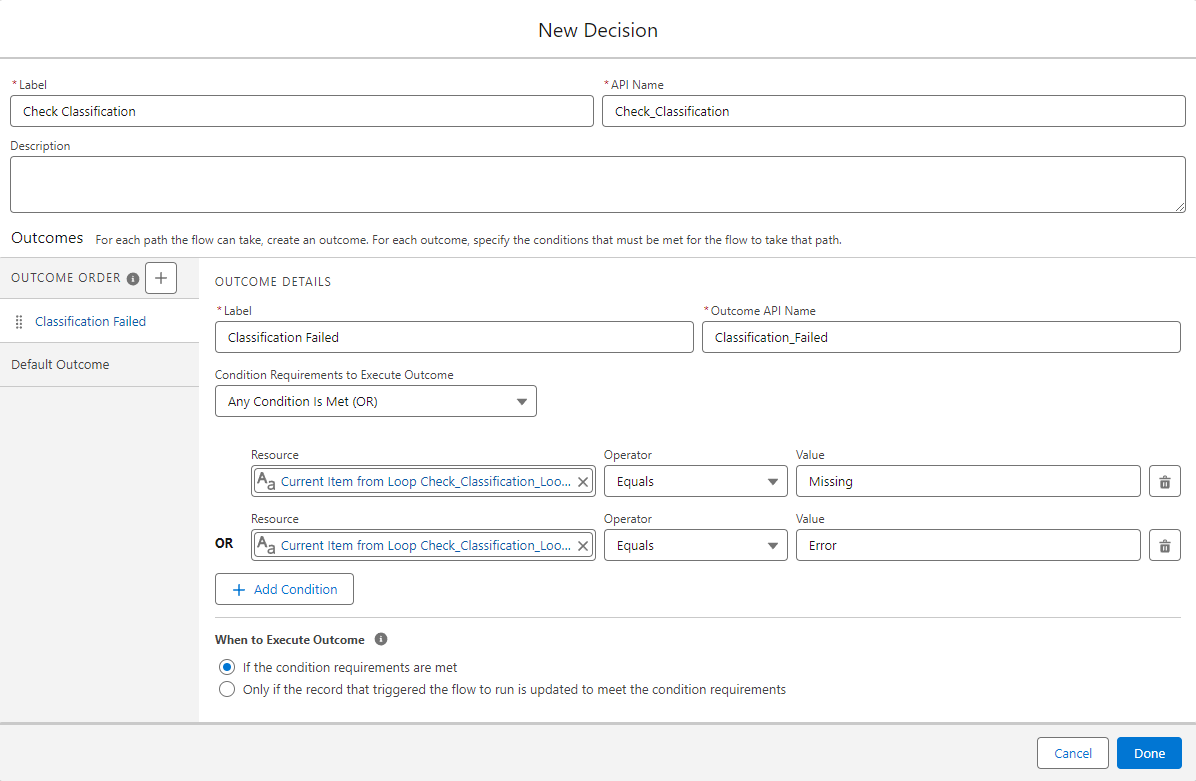
- In the "For Each" branch, click the Add Element button and select "Decision"
- Label: Check Classification
- Outcome details Label: Classification Failed
- Condition Requirements: Any Condition is Met (OR)
- Conditions:
- {!Check_Classification_Loop.classificationStatus} - Equals - Missing
- {!Check_Classification_Loop.classificationStatus} - Equals - Error
- Click Done
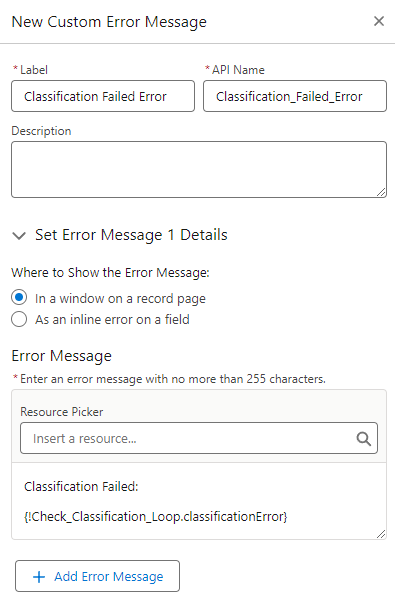
- In the "Classification Failed" branch, click Add Element button and select "Custom Error"
- Label: Classification Failed Error
- Error Message: Classification failed: {!Check_Classification_Loop.classificationError}
- Close the side panel
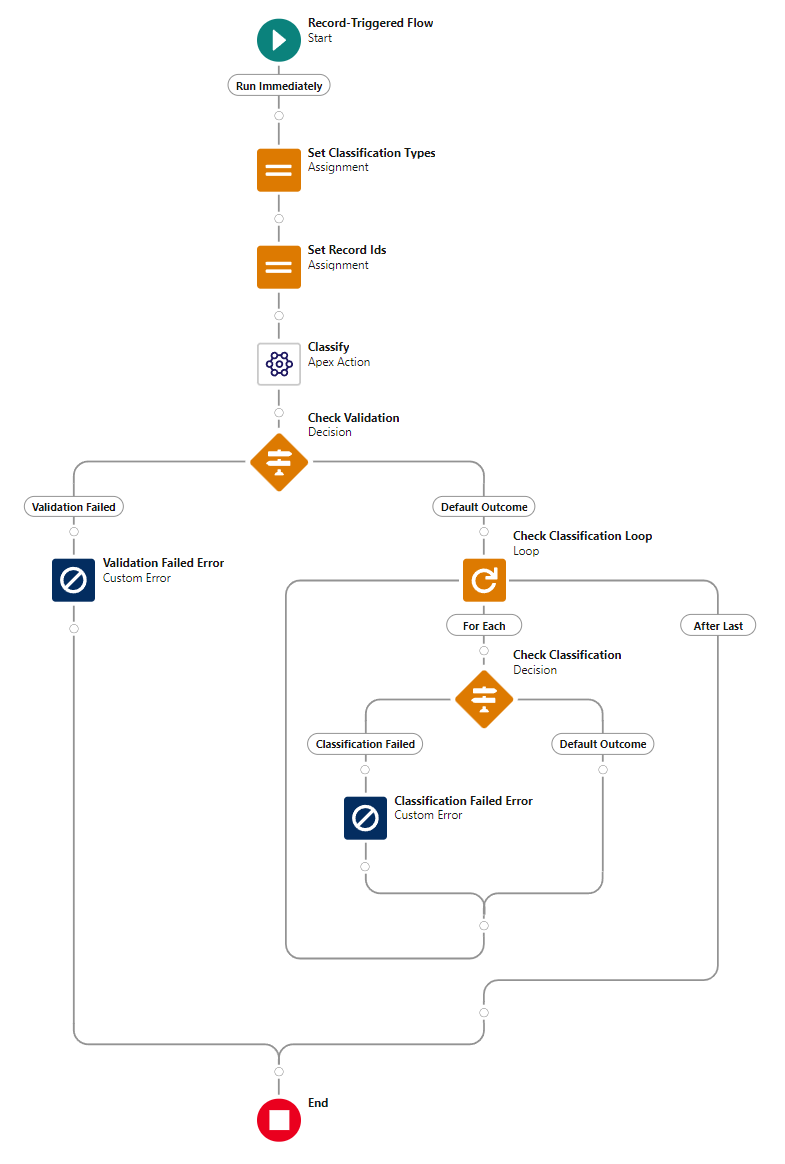
- You will end up with the following Flow
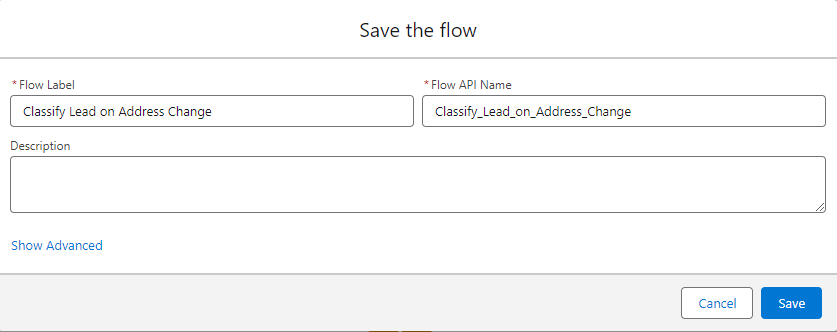
Step 6 - Save the flow
- Click Save on the toolbar
- Flow Label: Classify Lead on Address Change
- Click Save
- Click Activate on the toolbar
How did we do?
Custom Assignment Rejection
Assign on Action