Slack Notifications
The steps below show you how you can create a Salesforce Flow to send a Slack notification to a user on assignment of a record in DE. This uses the Salesforce for Slack app in the Slack app directory…
The steps below show you how you can create a Salesforce Flow to send a Slack notification to a user on assignment of a record in DE. This uses the Salesforce for Slack app in the Slack app directory, and requires that to be connected to a Salesforce org. For more information on Salesforce and Slack integrations, see here.

Note: the labels used in the example are just suggestions, you can set them to whatever you like.
Step 1 - Create the notification
A Slack custom notification needs to be created against an object, so if you assign multiple object types you will need to create multiple notifications.
- Go to Setup > Notification Builder > Custom Notifications
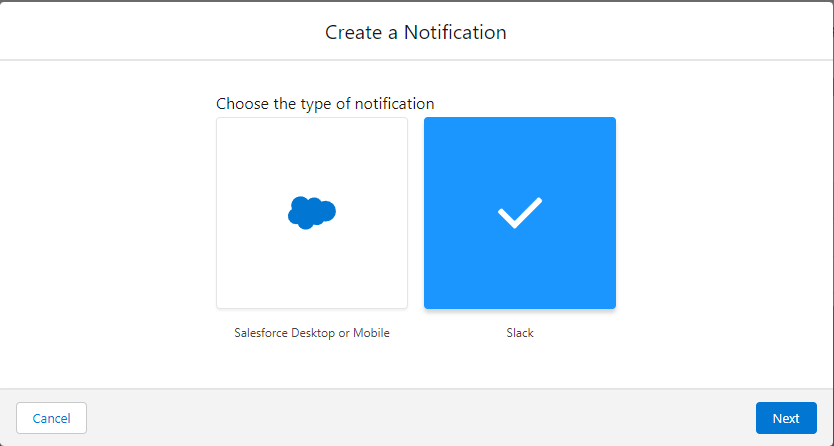
- Click New
- Type of notification: Slack
- Click Next
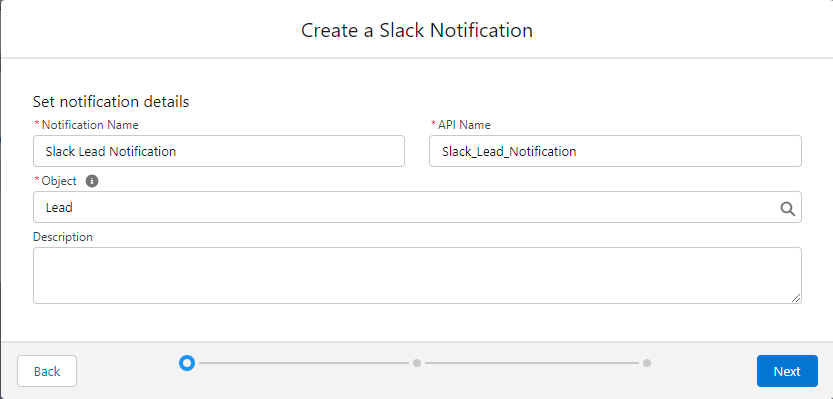
- Notification Name: Slack Lead Notification
- Object: <Choose your object>
- Click Next
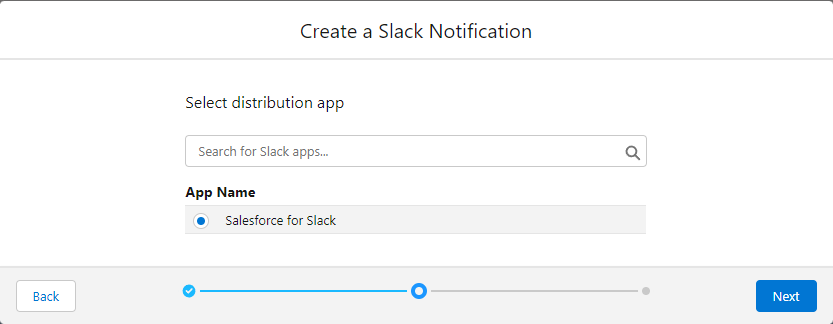
- App Name: Salesforce for Slack
- Click Next
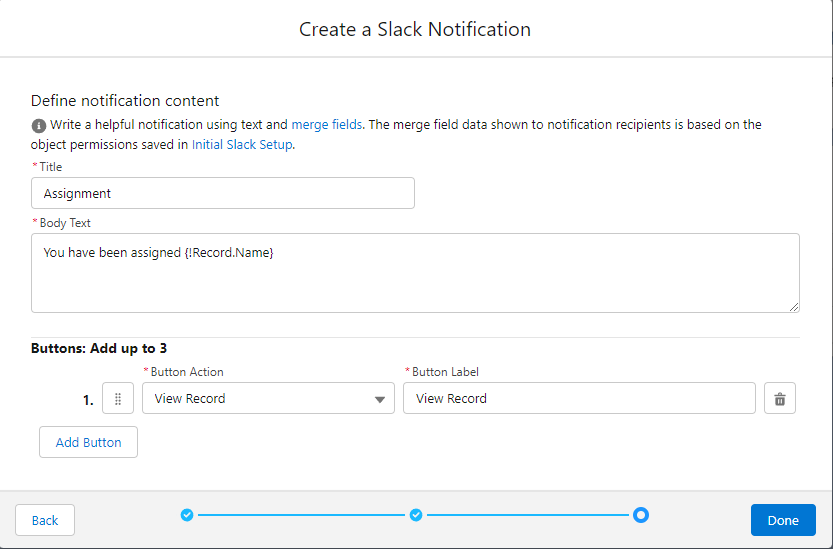
- Title: Assignment
- Body Text: Enter a message of your choosing, which can also contain variables from the record, for example "{!Record.Name}" for the record name
- Buttons: Optionally add a button to view the record
- Click Done
Step 2 - Create the flow
- Go to Setup > Process Automation > Flows
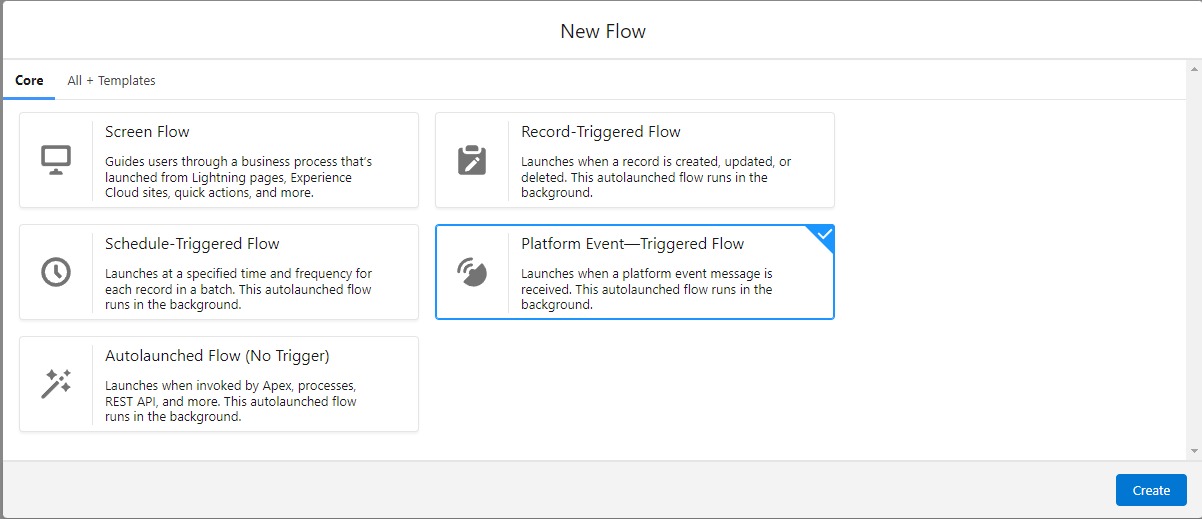
- Click New Flow
- Select "Platform Event-Triggered Flow"
- Click Create
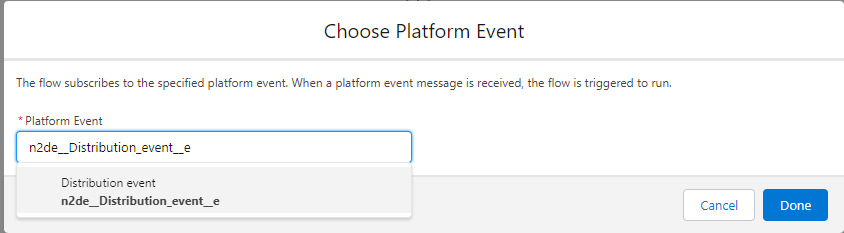
- Click "Choose Platform Event" in the Start step and search for "n2de__Distribution_event__e"
- Click Done
Step 3 - Filter only assignment events
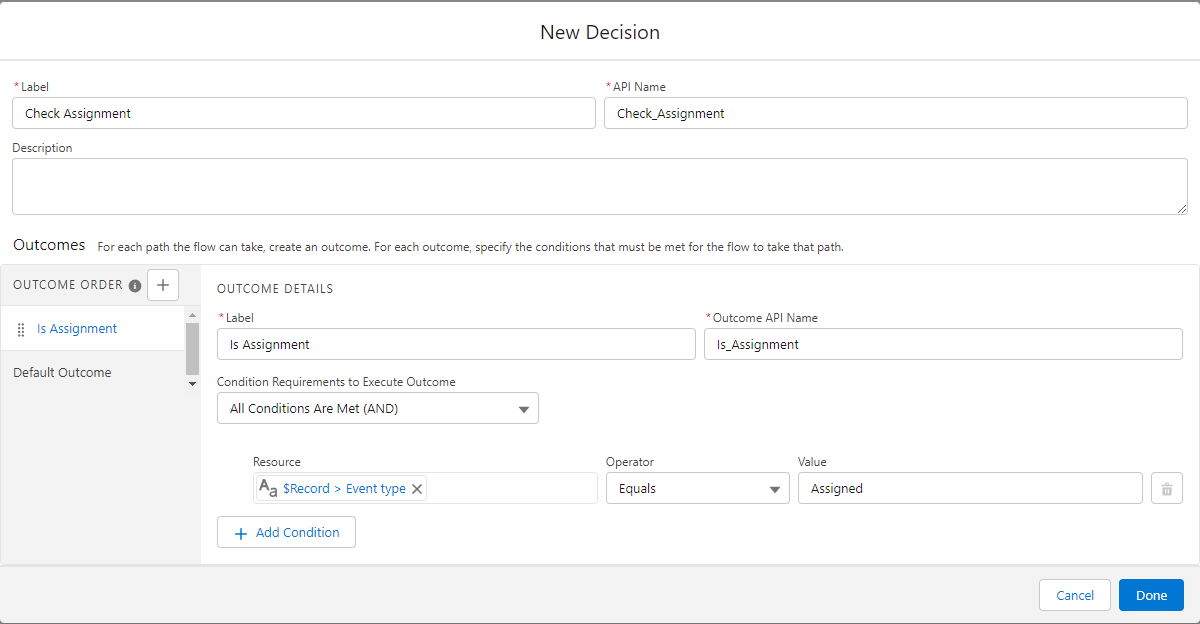
- Click the Add Element button and select "Decision"
- Label: Check Assignment
- Outcome details Label: Is Assignment
- Condition Resource: {!$Record.n2de__Event_type__c}
- Condition Operator: Equals
- Condition Value: Assigned
- Click Done
Step 4 - Create the recipients variable
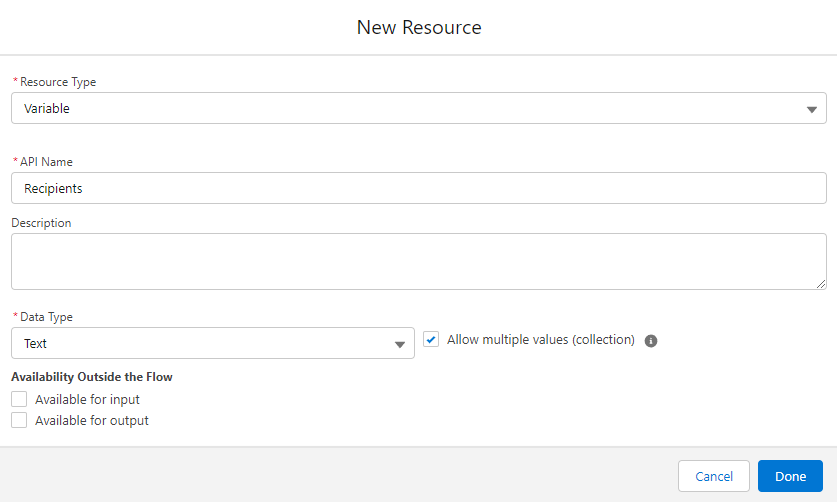
The notification action requires a list of recipients, but because we only have one in the event we need to convert that to a list.
- In the Toolbox on the left, click New Resource
- Resource Type: Variable
- API Name: Recipients
- Data Type: Text
- Allow multiple values (collection): Check
- Click Done
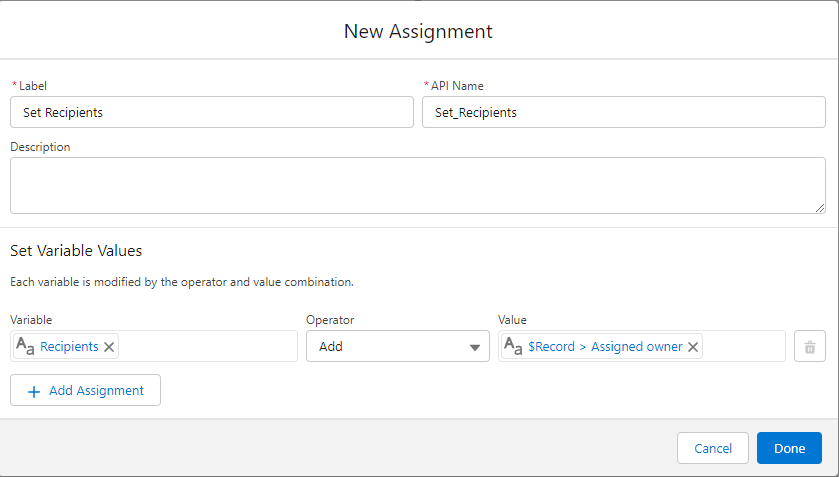
Step 5 - Populate the recipients
- In the "Is Assignment" branch, click the Add Element button and select "Assignment"
- Label: Set Recipients
- Variable: {!Recipients}
- Operator: Add
- Value: {!$Record.n2de__Assigned_owner__c}
- Click Done
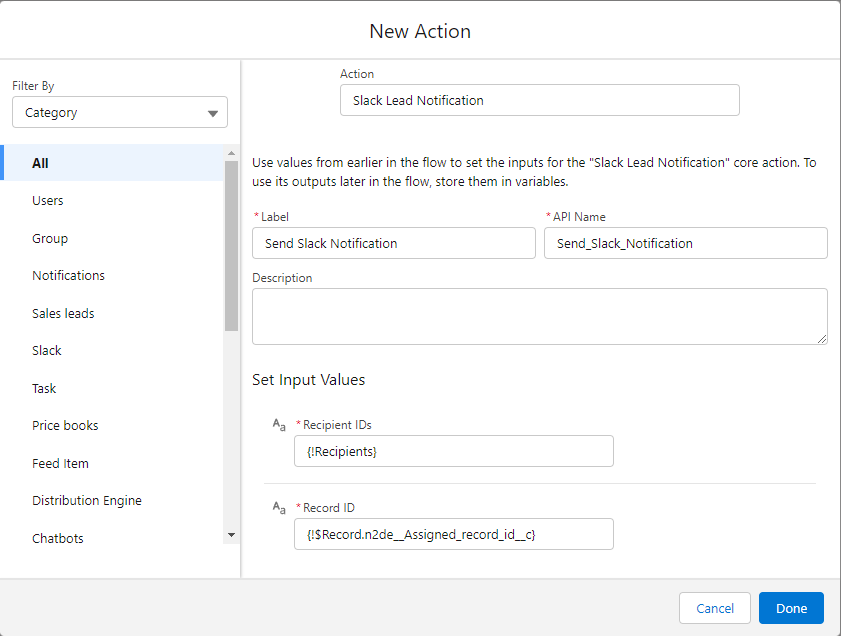
Step 6 - Send the notification
- In the "Is Assignment" branch, click the Add Element button and select "Action"
- Search for the Action using the name of the notification created earlier, eg "Slack Lead Notification"
- Label: Send Slack Notification
- Recipient IDs: {!Recipients}
- Record ID: {!$Record.n2de__Assigned_record_id__c}
- Click Done
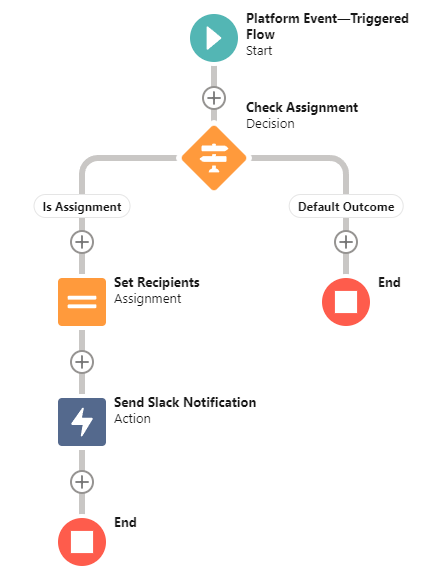
- You will end up with the following Flow
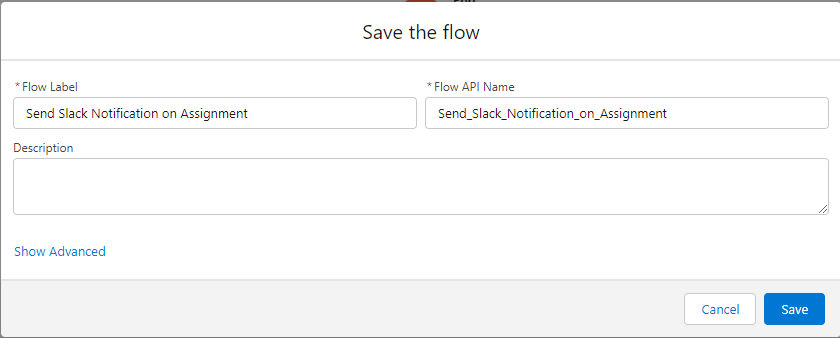
Step 7 - Save the flow
- Click Save on the toolbar
- Flow Label: Send Slack Notification on Assignment
- Click Save
- Click Activate on the toolbar
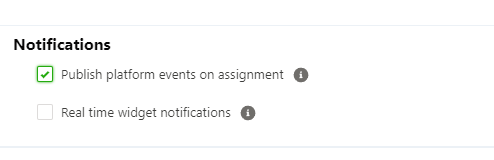
Step 8 - Enable sending platform events
- See Distribution Settings for more information on enabling the sending of platform events on assignment
- Ensure the "Publish platform events on assignment" checkbox is checked in Distribution Settings
How did we do?
Chatter Notifications
Desktop or Mobile Notifications